


At-home chemical peels are a great way to reveal younger, brighter looking skin. To truly get the most out of your at-home chemical peel, follow our suggestions for an easy, quick, and skin-smoothing experience.
Step 1: Collect Your Supplies
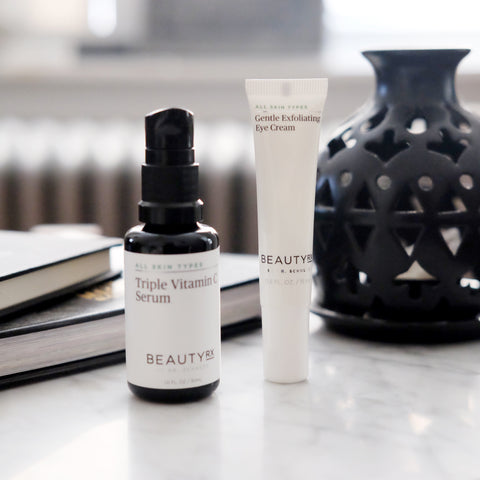
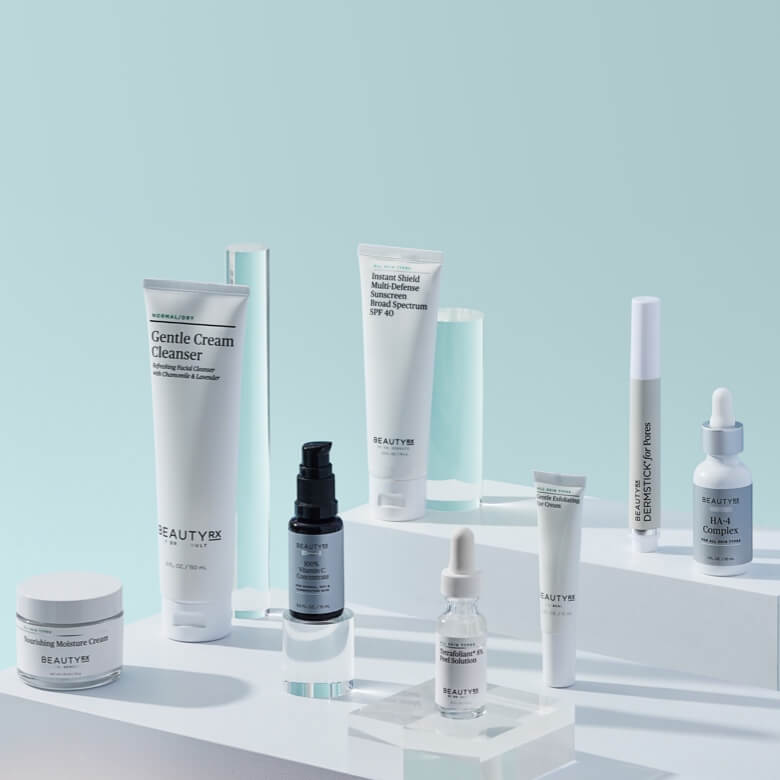
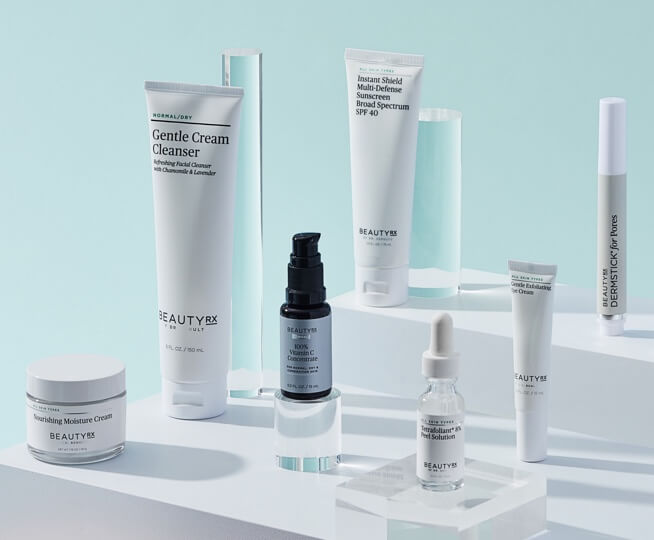
While you don't have to have a lot of items on-hand to do an at-home chemical peel, it's good to have everything at your fingertips, which are mainly the elements of your existing skincare regimen. For most people, this will include a cleanser, toner, and any moisturizer and/or eye cream you enjoy. In fact, an at-home chemical peel, like the BeautyRx Progressive Peel, is the exfoliating element of your routine, used nightly.
Step 2: Cleanse Your Face
A freshly cleansed face allows your at-home chemical peel to reach where it needs to more effectively. While it's tempting to heat up that water to an �_ber-hot degree, your skin is better off with a lukewarm temperature instead. This is a temperature that doesn't feel too cool to your skin, yet isn't so hot that your hands take a minute to get used to the temperature.
You don't need to use a lot of cleanser to effectively clean your skin. For example, you can cleanse your skin with about a teaspoon-sized amount of the BeautyRx Balancing Cleanser and still achieve clean skin -- even if you have on makeup, sunscreen and the day's sweat or pollution. Massage the cleanser in a circular motion for 15 to 30 seconds. Then rinse with your lukewarm water. Don't ignore some commonly neglected areas, such as your hairline, jawline or around your nostrils. Pat -- don't rub -- your skin dry.
Step 3: Toning Time
Just in case you didn't get all your makeup, dirt or even cleanser off with face washing, using a toner can help. Apply a toner, such as BeautyRx's Clarifying Toner, to a thin cotton pad and gently swipe over your face. If your skin doesn't feel clean with just one cotton pad, you may need to use another one.
Step 4: Apply Your At-Home Chemical Peel at Night
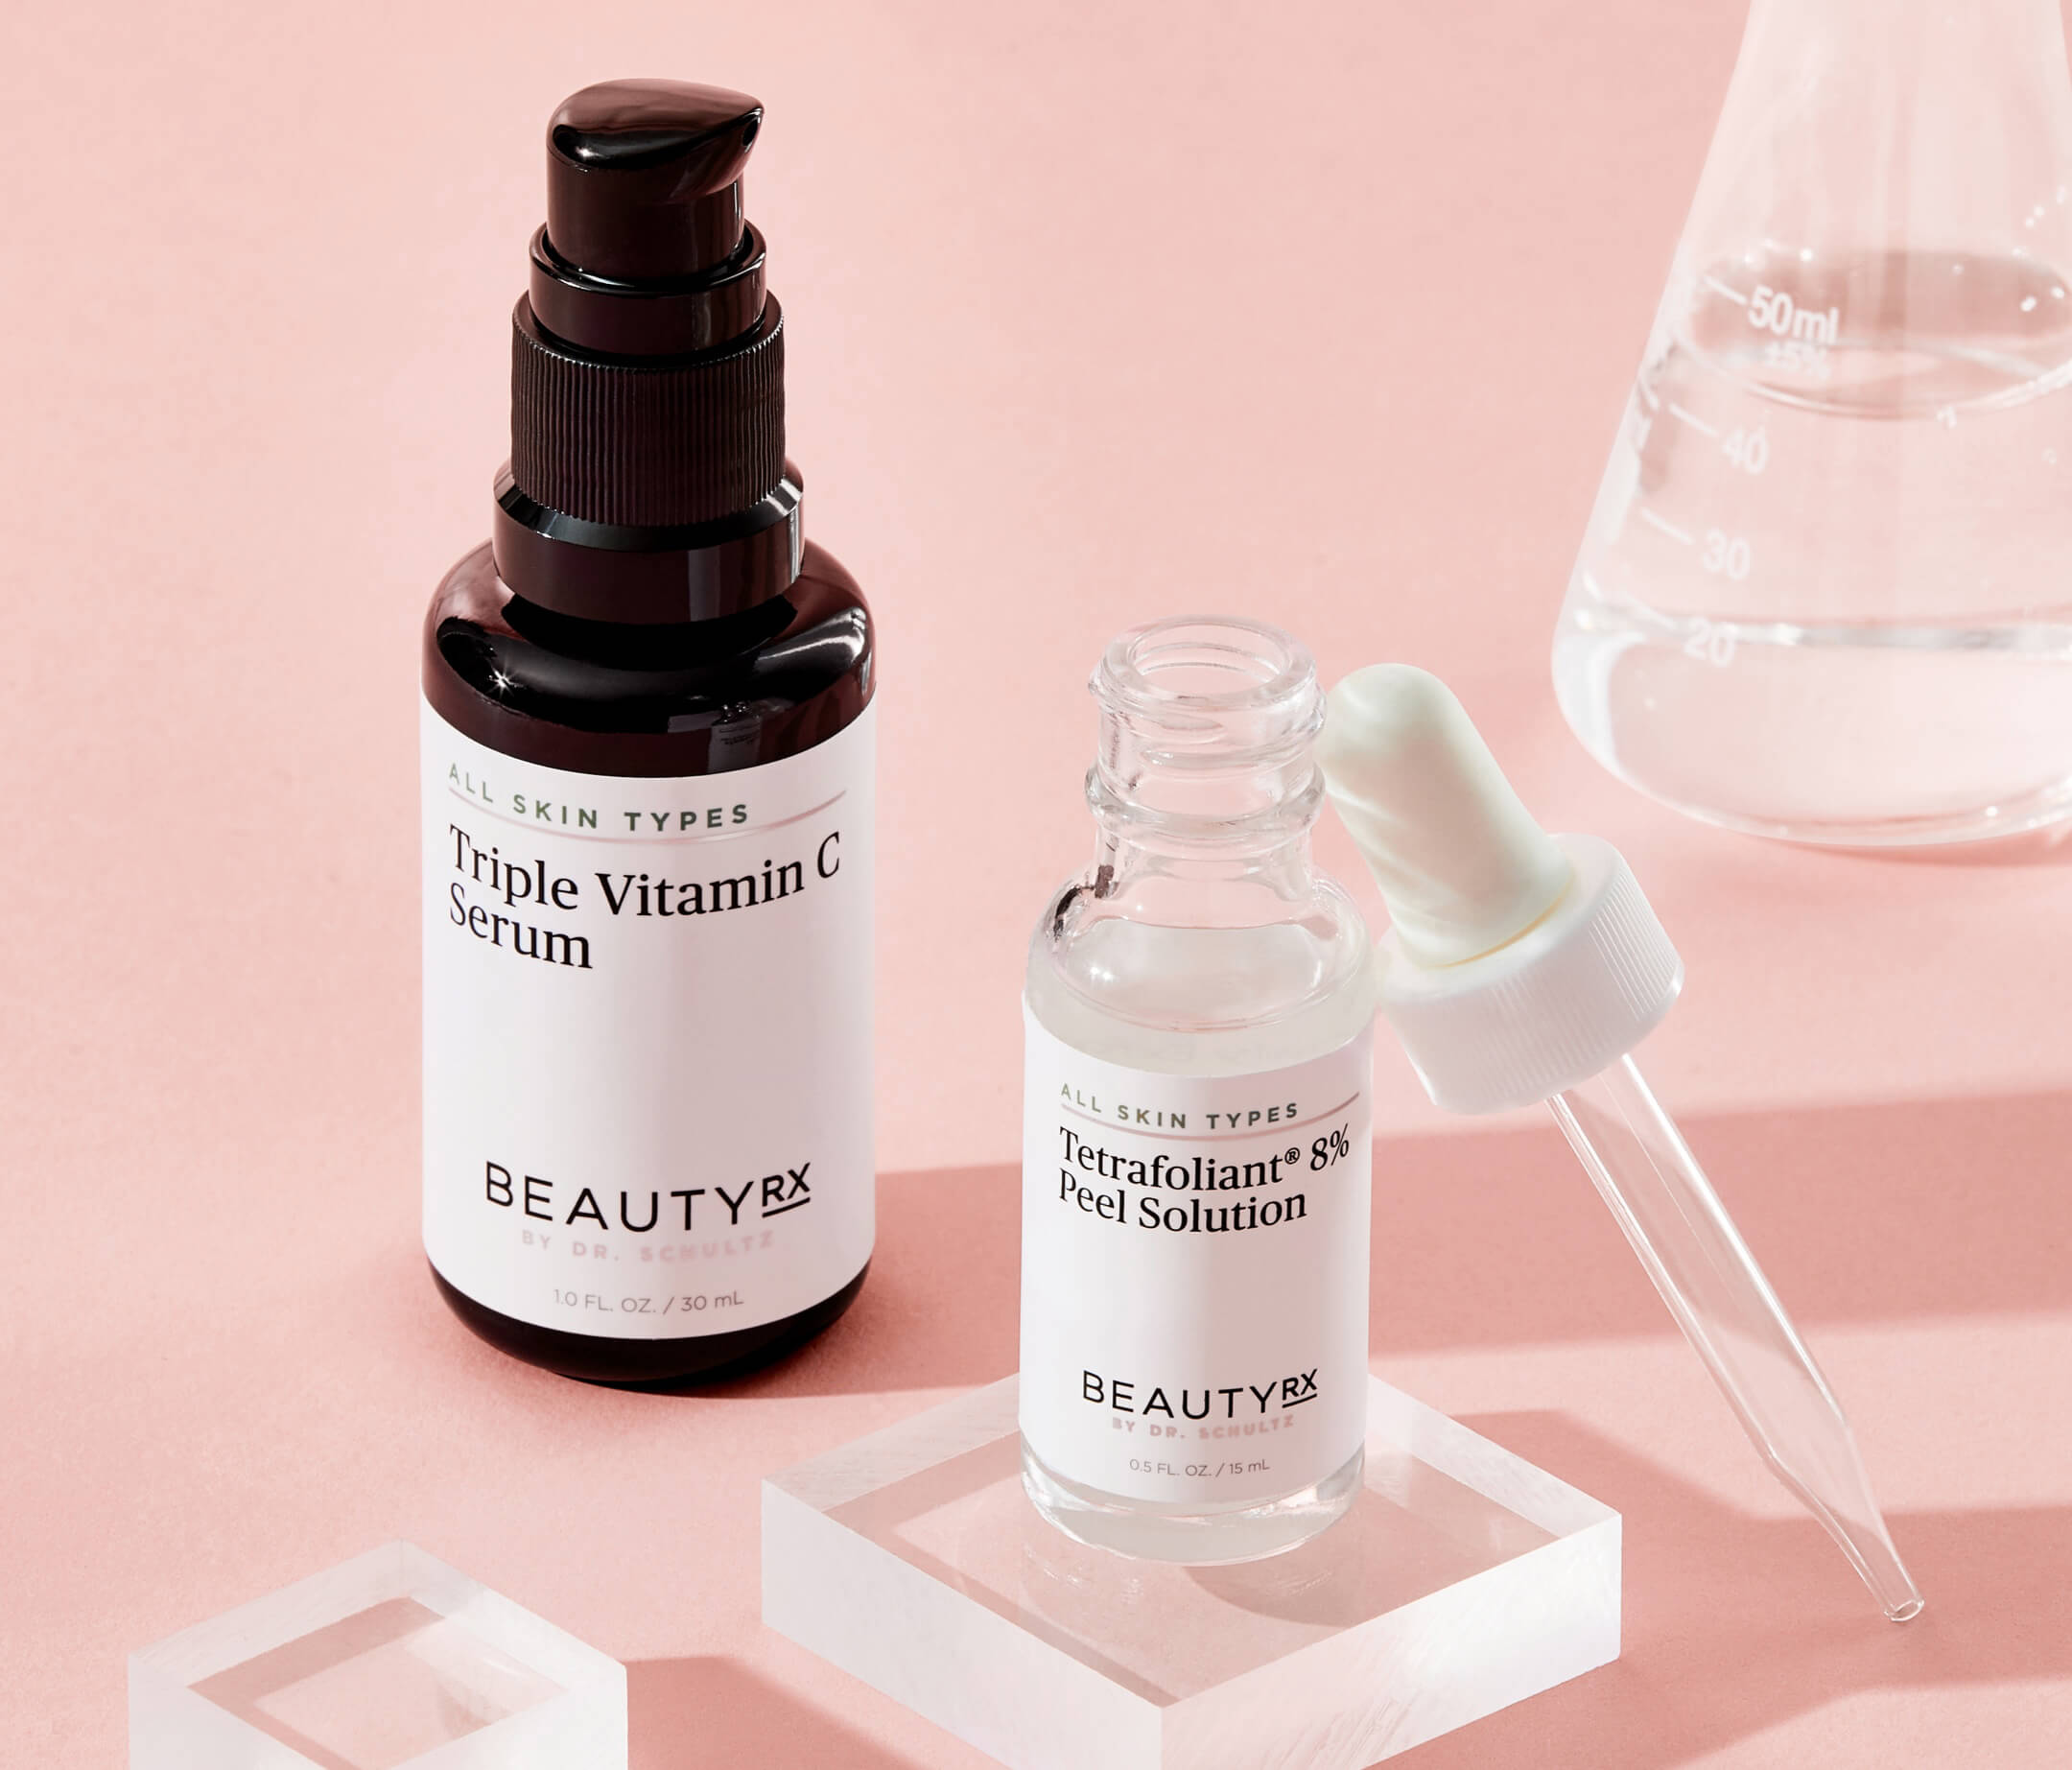
Cleansed and toned skin provides the ideal canvas for an at-home chemical peel. The Progressive Peel is a time-saving option to revealing younger-looking skin. The peel is designed to increase in concentration over the course of six weeks. You'll transition from using an 8% glycolic serum to 10% glycolic pads over the course of the next two weeks. For weeks five through six, you'll progress to the 15% glycolic cream. By following this Progressive Exfoliation technique, you'll get the highest-strength at-home exfoliation without any downtime, redness, or irritation, resulting in skin that is smoother, younger-looking, and more luminous.
While the pads have a pre-measured amount of glycolic acid, knowing how much serum or cream to apply is also easy. For the serum, you'll need about four to six drops. For the cream, you'll need roughly the size of a pea. Less is more.
Step 5: Follow Up With the Remainder of Your Skincare Routine
The beauty of using The Progressive Peel as a part of your skincare routine is that you can achieve non-irritating, chemical exfoliation and still use skincare products that you love. After the peel has absorbed into your skin, you can apply moisturizers and/or eye creams as desired. You don't even have to wash off the chemical peel product -- you can wear it overnight, and wash it off during your morning skincare routine.
You May Also Like


Get your free copy
of Dr. Schultz’s booklet:
Prescription
for Gorgeous Skin

You May Also Like
-

Your Guide to Melasma
Melasma is a skin condition characterized by hyperpigmentation and brown... Read more >
-
Vitamin C Serum: A Superhero Ingredient for Anti-Aging
Good skin care doesn’t start with gimmicks, it starts with... Read more >
-

Three Surprising Ways Exfoliation Helps Your Skin
To get beautiful, radiant skin, one of the main skin... Read more >
-

3 Tips to Prevent Acne
Almost everybody experiences acne breakouts at some point in their... Read more >
-

The Guide to Making Your Eyes Look Younger
When you’re ready to get serious about your anti-aging routine,... Read more >


Leave a Comment